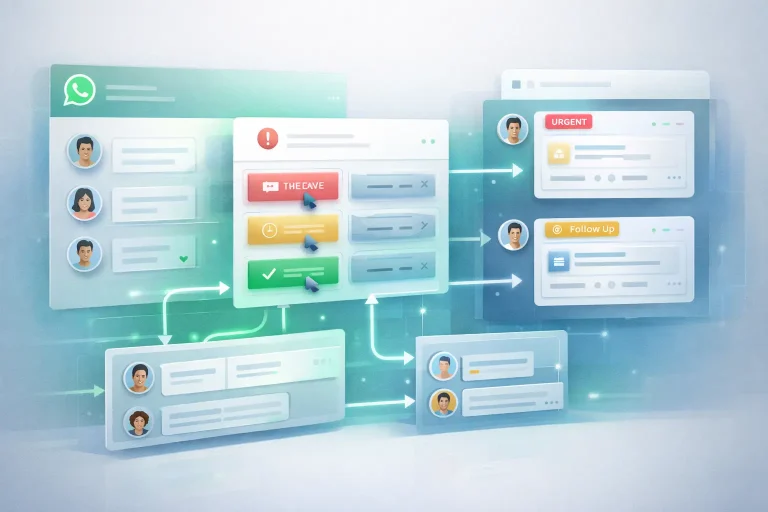
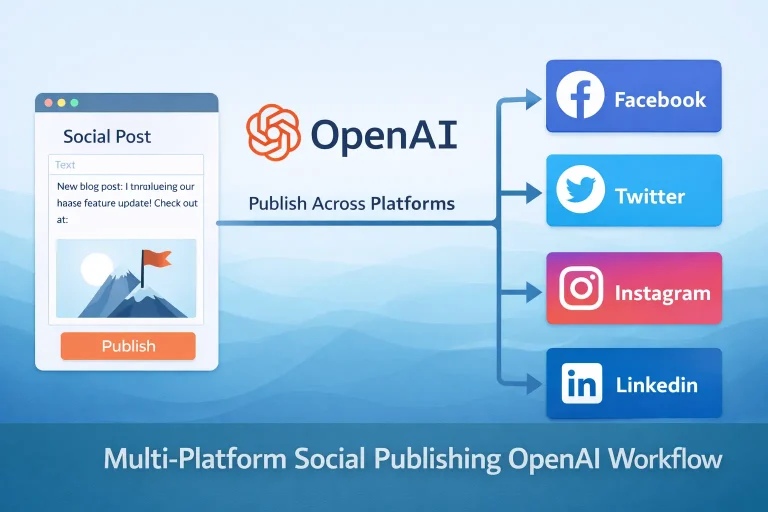
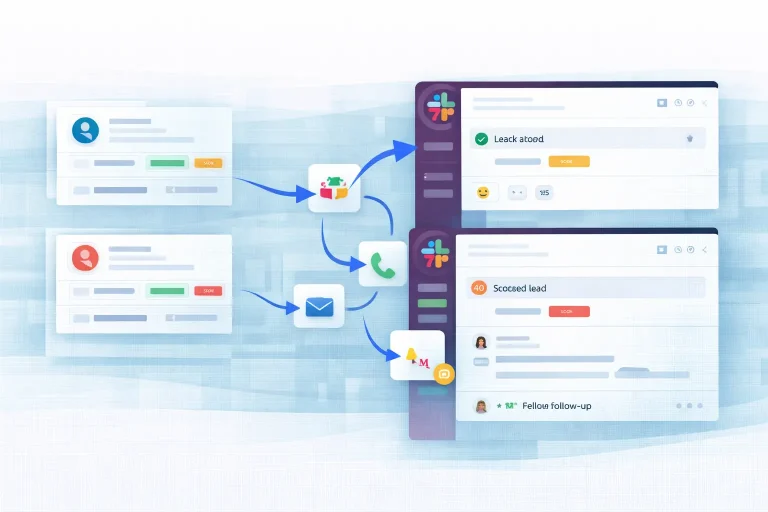
How to Set Up an n8n Welcome Email Workflow with Mailchimp and Gmail
Build a simple n8n welcome email workflow that adds new subscribers to Mailchimp and sends a first-message offer through Gmail.
This guide explains how to set up an n8n workflow that receives signup data, creates a Mailchimp subscriber, and sends a welcome email with a discount code through Gmail. It is a practical onboarding flow for websites that want an immediate first-touch email after signup.
Related Tools
Details
An n8n welcome email workflow is a straightforward way to turn a website signup into a real onboarding step. Instead of storing the subscriber first and waiting for a later campaign, the workflow immediately adds the contact to Mailchimp and sends a welcome email through Gmail, often including a first-purchase discount code or onboarding message.
This type of workflow is a good fit for ecommerce stores, newsletters, creators, or SaaS teams that want a more direct first touch after signup. It is not a full lifecycle email system. Its job is to handle the first message well and record the subscriber in the right list.
What you will build
You will build an n8n workflow that receives signup data from a webhook, creates a member in Mailchimp, and sends a personalized welcome email through Gmail. The template can be used with a website form, landing page form, or another signup source that can send name and email data to n8n.
When to use this workflow
Use this workflow when you want a quick and controlled welcome step without waiting for a separate automation platform to do everything. It is especially useful when the website form is custom or when you want Gmail to send the first email because you already control formatting and sender identity there.
Do not use it if Mailchimp already handles the exact welcome flow you need with less operational overhead. Adding n8n only makes sense when you need custom routing or your signup source is outside Mailchimp.
What you need before you start
- A signup form that can send data to an n8n webhook.
- Mailchimp credentials and an audience list.
- Gmail credentials for the sender account.
- A welcome email draft and a clear discount code policy if one is included.
- Basic form validation so obviously empty or malformed submissions do not hit the workflow.
Step-by-step setup process
- Create a webhook node in n8n and connect your signup form to it. Make sure the payload includes at least email and name.
- Add a Mailchimp node that creates a new audience member. Decide whether your workflow should fail hard when Mailchimp rejects a duplicate, or continue to the email step anyway.
- Add a Gmail node that sends the welcome email. Personalize the greeting, but keep the message short and make the next step clear.
- If you are including a discount code, decide where the code comes from. A static code is easiest, but some teams prefer a generated code from their commerce system.
- Test the flow with a real signup and confirm both the Mailchimp entry and the email delivery.
How to validate the workflow
Run a live test with a real inbox you can check. Confirm that the subscriber is added to Mailchimp correctly and that the email arrives with the expected sender, subject line, and formatting. Also test what happens when the same address signs up twice. Duplicate behavior is one of the most common weak points in welcome workflows.
Common problems and fixes
- Duplicate subscriber errors: Decide whether your workflow should update an existing member, skip creation, or stop the run.
- Email sends even when Mailchimp fails: That may be intentional or not. Make the dependency explicit so the team knows the expected behavior.
- Webhook payload mismatch: Custom forms often rename fields during implementation. Recheck the payload in the webhook test data before mapping anything downstream.
- Discount code maintenance: If the code changes every campaign, avoid hardcoding it deep inside the Gmail node.
When a template is enough
This is a strong template use case because the workflow pattern is standard. Webhook, Mailchimp member creation, and Gmail sending are the essential blocks. Importing a template saves time and keeps the first setup simple. The manual work is in connecting credentials, editing the email content, and deciding how to handle duplicates or failures.
If you later need segmentation, conditional offers, region-based list assignment, or ecommerce-specific coupon generation, you can build on the template rather than replace it outright.
Best practices
- Keep the first email focused on one action, such as using the code or confirming the next step.
- Log the signup source if you plan to segment later.
- Document duplicate-handling rules so marketing and operations interpret the workflow the same way.
- Review deliverability regularly if Gmail is sending at higher volumes.
FAQ
Can I send the welcome email from Mailchimp instead of Gmail?
Yes. If Mailchimp already manages the onboarding sequence well, that can be simpler. This workflow is useful when you need more control or a custom trigger source.
Does the webhook have to come from a website form?
No. Any source that can post structured signup data to n8n can start the workflow.
Should the workflow stop if Mailchimp rejects the subscriber?
That depends on your process. Some teams still want the welcome email to go out, while others want strict list integrity first.
Final notes
The best welcome workflows are simple, dependable, and easy to reason about. This n8n setup does not try to do everything. It handles the first subscriber touchpoint and keeps Mailchimp updated. That is often enough to make signup handling feel much more intentional.
Related Templates

Subscriber Welcome Email Mailchimp Gmail Workflow Template
Add new signups to Mailchimp and send a branded welcome email with a discount code as soon as the form is submitted.
View Template


