How to Create an MCP Toolbox in Make
A practical setup guide for turning selected Make scenarios into a controlled MCP toolbox.
This guide explains how to create an MCP Toolbox in Make and prepare it for clients like Claude or ChatGPT. It covers scenario selection, tool metadata, permissions, and the testing steps that matter.

Related Tools

Details
A Make MCP Toolbox is a dedicated MCP server built from selected Make scenarios. You create one when you want an MCP client—such as Claude, ChatGPT, or Cursor—to use a small, controlled set of Make workflows as tools instead of interacting with your whole Make account.
The setup is straightforward, but a good toolbox depends on how well you prepare the scenarios inside it. The technical form only takes a few minutes. The real quality comes from tool design: clean scenario boundaries, useful names, clear descriptions, and sensible permission labels.
What you will build
You will create a toolbox in Make, choose which scenarios to expose, generate the toolbox URL and key, configure tool labels and behavior, and prepare the toolbox for use from an MCP client.
When to use a toolbox
Use a toolbox when you want fine-grained control over which tools an AI client can access. For example, you may want an assistant to check unread labeled emails, create a contact in HubSpot, or write a draft to Gmail, but not edit your whole Make workspace.
Do not use a toolbox if your goal is broad account-level management or if you want the client to access large parts of your Make environment with minimal curation. In that case, Make MCP server is the better fit.
What you need before you start
- A Make account.
- One or more scenarios that are active and configured with on-demand scheduling.
- A plan for how each scenario should behave as a tool.
- An MCP client you intend to connect later, such as Claude, ChatGPT, or Cursor.
Step 1: Prepare the scenarios first
The toolbox only works as well as the scenarios behind it. Start by selecting scenarios that each do one clear job. Examples include “Find contact by email,” “Create task in Asana,” or “Draft a reply in Gmail.”
It is tempting to expose a long multi-step scenario because it feels efficient. In practice, tool calling is more predictable when each scenario has a narrow outcome and a clean input/output shape.
Step 2: Create the toolbox in Make
Open the MCP Toolboxes section in Make and choose Create toolbox. Give it a name that reflects the use case, not the team’s internal jargon. Then add the scenarios you want to expose as tools. Only active scenarios with on-demand scheduling will be listed.
Once you create the toolbox, Make generates a unique MCP server URL and a key. Save the key securely. You can add more keys later if you want separate credentials for different environments or users.
Step 3: Customize the tool metadata
Each tool can use the default scenario name and description, but you should rarely leave them untouched. Rename tools so the model can understand the action without guessing. “Get unpaid invoices from Airtable” is better than “Invoice scenario v2.”
Write descriptions that explain both the task and the boundary. For example, say whether the tool creates a new record, only reads data, or expects a particular identifier. This reduces tool confusion later.
Step 4: Set the behavior annotation
For every tool, choose whether it is read only or read & write. This matters because MCP clients that support tool annotations can treat low-risk tools more freely and become more careful with tools that modify data.
Do not mark everything as read & write by default. If a tool only searches or fetches, mark it read only. That gives the model a cleaner picture of your toolset and usually leads to better decisions.
Step 5: Generate the connection URL correctly
When you later connect the toolbox to an MCP client, the final URL format depends on whether the client supports authorization headers. With header support, keep the toolbox URL clean and send the key in a Bearer authorization header. Without header support, Make allows the key and transport method to be included in the URL path.
Make recommends HTTP streamable transport, especially the stateless path, because it is more reliable for remote MCP connections.
Step 6: Connect the toolbox to the client
After the toolbox is ready, add it to your MCP client. In many cases, the easiest path is to use the “Connect with” option from the toolbox itself if your preferred client appears there. Otherwise, use the client’s remote MCP server setup flow and paste the configured URL plus the authorization details if needed.
How to test the toolbox
- Call one read-only tool first.
- Check that the scenario run starts and finishes successfully in Make.
- Review the returned output in the client to confirm it is understandable and complete.
- Then test one low-risk write tool in a sandbox.
Common mistakes
Putting too many unrelated scenarios into one toolbox
A toolbox should feel coherent. If the tools serve unrelated jobs, the model has a harder time choosing correctly. Separate sales, support, and finance tools unless there is a reason to keep them together.
Using vague tool names
The model cannot infer your internal naming habits. Replace short or ambiguous names with descriptive ones.
Exposing long-running scenarios
Toolbox scenario runs must finish within 40 seconds. If your process takes longer, redesign the tool to do a fast first step and trigger the rest elsewhere.
Skipping scenario input and output design
If the scenario expects confusing inputs or returns messy outputs, the MCP client will struggle even if the connection is correct. Keep inputs simple and outputs predictable.
When a template helps
Templates are useful when you already know the workflow pattern: CRM lookups, spreadsheet updates, lead enrichment, internal search, or ticket triage. A template speeds up scenario construction, but it does not remove the need to convert that scenario into a good tool. You still need to define the scenario for on-demand use and rewrite the metadata so an AI client can choose it correctly.
FAQ
Can a toolbox include multiple tools?
Yes. A toolbox is a set of selected scenarios exposed as MCP tools.
Can I issue more than one key?
Yes. Make allows multiple keys per toolbox.
What kind of client can use a toolbox?
Any MCP client that can connect to a remote MCP server, including common options like Claude, ChatGPT, and Cursor.
What should I optimize first: the connection or the tool descriptions?
After the connection works once, optimize the tool descriptions. Poor metadata causes more real-world problems than the initial connection step.
Final notes
A good MCP toolbox is small, explicit, and easy for a model to reason about. Think of it less like a package of automations and more like an API surface for an assistant. The clearer that surface is, the better the tool calling will be.
Related Guides

How to Build a Self-Hosted Research Agent
This guide walks through how to build a self-hosted research agent, including the workflow layers you need, the setup order that works best, and...
Read Guide
How to Use MCP for CRM Automation
This guide explains how to use MCP for CRM automation in a way that is useful but still operationally safe. It focuses on bounded...
Read Guide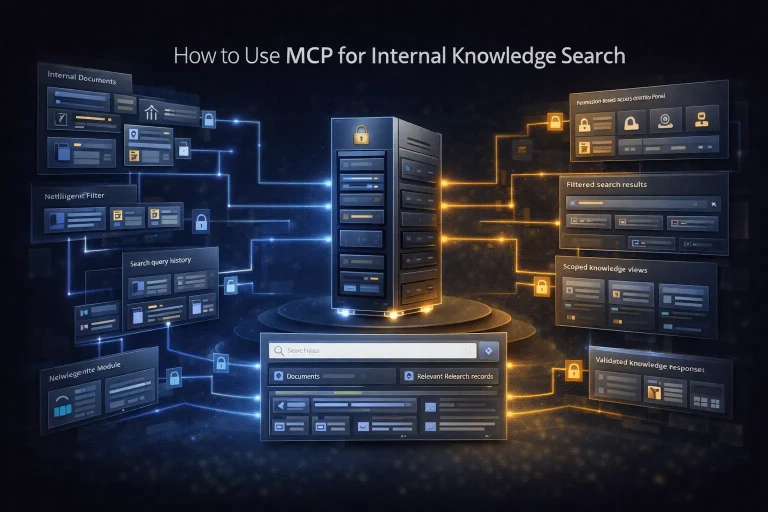
How to Use MCP for Internal Knowledge Search
This guide explains how to use MCP for internal knowledge search across documents, work data, and operational documentation. It focuses on retrieval design, permission...
Read Guide